fbpx

MTB fork air pressure guide – SAGLY

MTB fork air pressure & SAG guide

Set Your MTB Fork Air Pressure Without Guessing

Measure fork SAG, understand when to add or remove PSI and build a repeatable starting setup for better support, grip and control.

MTB fork air pressure: quick answer

Start with the air-pressure recommendation for your exact fork and rider weight, then verify the result by measuring fork SAG and testing the bike on the trail.

If the fork sits too low, dives excessively or has more SAG than intended, more air pressure may be appropriate. If it sits too high, lacks grip or feels overly firm despite sensible damping settings, less pressure may help.

Pressure is only one part of the setup. Rebound, compression damping, volume spacers, tire pressure and fork condition can create similar riding symptoms.

Check my fork SAG

MTB fork SAG calculator

SAG is the amount of fork travel used while you are on the bike in your normal riding position. It provides a useful check of whether your spring pressure is in a sensible range.

Calculate your fork SAG

Enter fork travel and measured movement to calculate your SAG.

Important: this tool measures SAG and tells you the direction of the next pressure test. It does not replace the pressure limits or setup recommendation supplied by your fork manufacturer.

Do not chase a universal SAG number. Fork design, bike geometry, travel, riding style and manufacturer recommendations all influence the appropriate target.

How much air pressure should you put in an MTB fork?

There is no universal rider-weight-to-PSI formula that works accurately for every fork.

Two forks can require different pressure even for the same rider because their air-spring design, travel, negative spring, chassis and intended use may differ.

The safest starting process is:

  1. Identify the exact fork model, generation and travel.
  2. Use your total riding weight including helmet, shoes, pack, water and riding equipment.
  3. Find the manufacturer’s recommended starting pressure.
  4. Pressurize and equalize the fork according to the fork-specific procedure.
  5. Measure SAG.
  6. Test the fork on a familiar trail and fine-tune from there.

SAGLY can also provide personalized starting values based on your bike, suspension component and rider information.

How to set MTB fork air pressure step by step

  1. Check your front tire pressure.
    An overly firm front tire can make the bike feel harsh even when fork pressure is correct.
  2. Identify your fork.
    Record brand, model, generation and travel before using any setup chart.
  3. Set compression adjustments to the recommended setup position.
    Do not measure SAG with an unusually firm compression setting unless the manufacturer specifies otherwise.
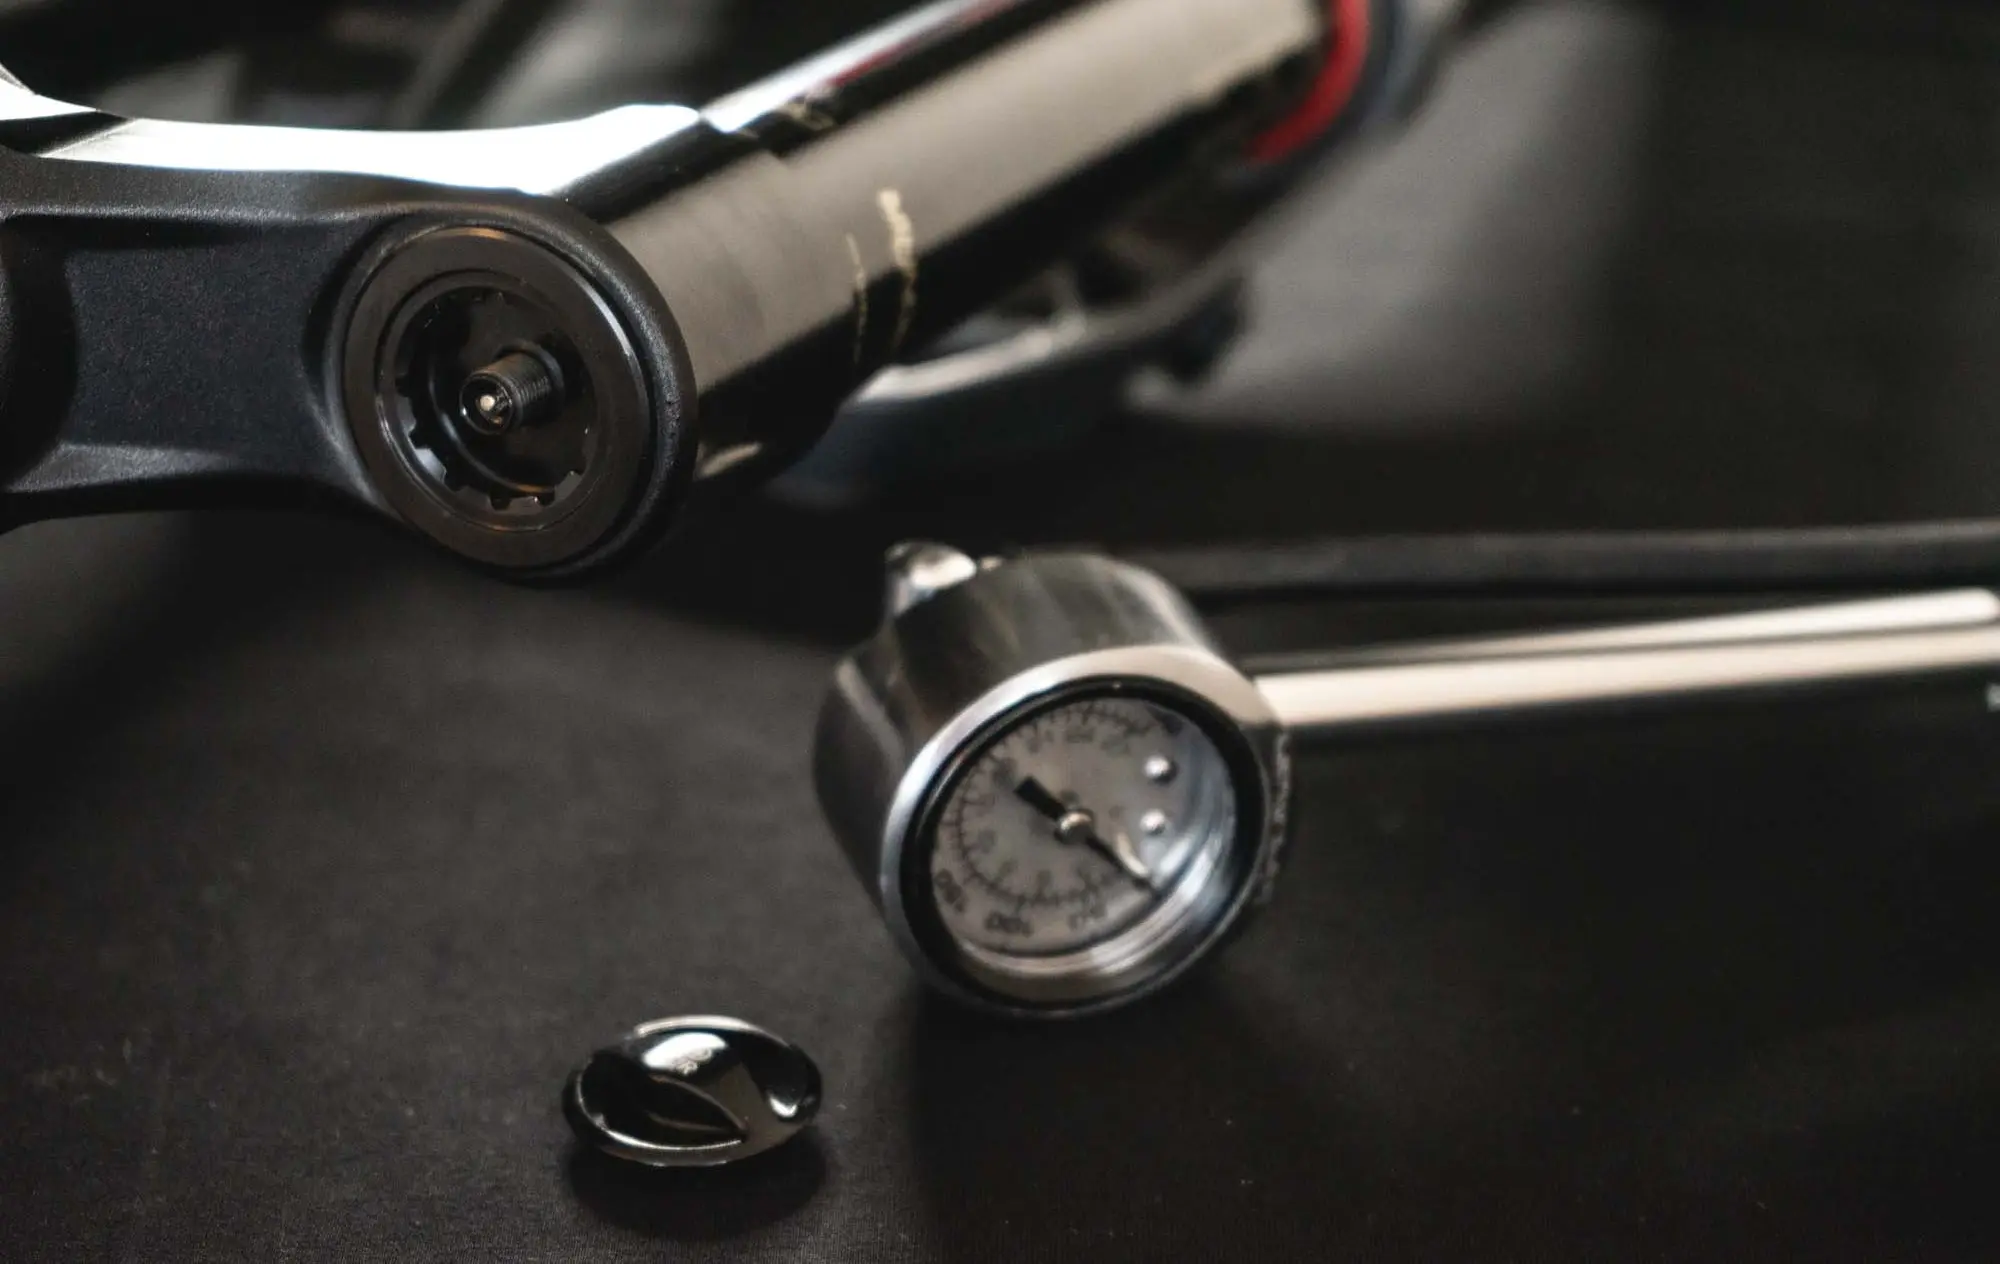
  4. Connect a suspension shock pump.
    Use a pump designed for suspension systems and stay within the manufacturer’s pressure limits.
  5. Set the recommended starting pressure.
    Start from the fork manufacturer’s recommendation or a reliable component-specific baseline.
  6. Equalize the air spring where required.
    Some forks require the suspension to be cycled during pressure adjustment so the positive and negative chambers equalize correctly.
  7. Measure SAG in your riding position.
    Wear your normal gear and avoid bouncing on the fork while measuring.
  8. Test on the trail.
    Use a familiar trail section and change one setting at a time.

Signs your MTB fork may have too much air pressure

Possible symptoms

  • SAG is lower than the intended target
  • Fork rides unusually high
  • Front wheel struggles to follow rough terrain
  • Grip feels limited on roots and rocks
  • Fork uses very little travel
  • Front end feels firm or nervous

But also check

  • Front tire pressure
  • Compression damping
  • Volume spacers
  • Fork friction
  • Service condition
  • Whether the trail actually required full travel

Signs your MTB fork may have too little air pressure

Possible symptoms

  • SAG is greater than the intended target
  • Fork sits low in its travel
  • Excessive brake dive
  • Fork uses travel too easily
  • Front end lacks support in berms or compressions
  • Frequent bottom-outs

But don’t automatically add PSI

Bottom-outs can also be influenced by compression damping, progression, volume spacers and the size of the impact.

Occasional use of full travel during a large enough impact does not necessarily mean the fork is too soft.

More PSI or more compression damping?

This is one of the most common suspension tuning questions. Air pressure and compression damping both create support, but they do it in different ways.

Setting What it changes Use it when
Air pressure Changes the spring force supporting the rider and therefore influences SAG, ride height and travel use. SAG is incorrect or the fork generally sits too low or too high.
Low-speed compression Adds damping support during slower suspension movements. SAG is sensible but the fork dives or moves too easily during braking, pumping, berms or gradual weight shifts.
High-speed compression Adds damping resistance during faster compression events. Spring setup is appropriate but sharp or hard impacts still need additional control.

Simple rule: if SAG and general ride height are wrong, check spring pressure first. If those are good, damping becomes the more useful fine-tuning tool.

Fork air pressure vs volume spacers

Air pressure and volume spacers also solve different problems.

More air pressure

Increases spring force and generally changes the feel throughout the fork’s travel.

More volume spacers

Reduce available air-spring volume and typically increase progression deeper in the stroke.

If SAG and initial sensitivity are good but the fork still moves through the end of its travel too easily, progression may be worth investigating.

If the fork already struggles to use deeper travel, adding more volume spacers is unlikely to be the first adjustment to try.

Always use spacers compatible with your exact fork and stay within the manufacturer’s permitted range.

Why does fork pressure change when you reconnect the shock pump?

Riders often reconnect a shock pump and see a lower reading than expected. This does not necessarily mean the fork has leaked.

When the pump is connected, the pump hose and gauge become part of the pressurized volume. Air moves into that additional space, which can reduce the displayed pressure.

A short hiss when removing the pump also commonly comes from pressure stored inside the pump hose rather than a large amount of air escaping from the fork.

Use a repeatable process. Use the same pump and the same measurement procedure when comparing fork pressure over time.

Does temperature affect MTB fork air pressure?

Yes. The pressure of the air inside the fork changes as temperature changes. A fork checked inside a warm garage can therefore show a different pressure after the bike has been outside in cold conditions.

When comparing setups, try to measure pressure under similar temperature conditions and avoid reacting to every small gauge difference.

Remember to recheck rebound after changing fork pressure

Increasing air pressure increases the spring’s return force. That means a significant pressure change can also change how much rebound damping feels appropriate.

After a meaningful pressure adjustment, test rebound again rather than assuming the previous click count will still be ideal.

Read the complete MTB rebound setup guide for more detail.

MTB fork air pressure troubleshooting

Symptom Possible causes First controlled check
Fork feels harsh on small bumps High tire pressure, excessive fork pressure, compression damping, rebound packing or friction. Check front tire pressure and SAG before changing several settings.
Fork dives too much under braking Low spring support, excessive SAG, low-speed compression or rider position. Check fork pressure and SAG first.
Fork bottoms too easily Low pressure, excessive SAG, insufficient damping support or insufficient progression. Verify pressure and SAG before adding damping or spacers.
Fork does not use full travel High pressure, too much compression, excessive progression, friction or insufficient trail load. Check SAG and pressure baseline first. Full travel is not required on every ride.
Fork feels good at first but harsh through repeated bumps Rebound may be too slow and causing the fork to pack down. Test slightly faster rebound before substantially reducing pressure.
Front wheel lacks grip Tire pressure, excessive spring force, too much compression, rebound or rider balance. Check tire pressure and fork SAG, then change one variable.

Continue your MTB suspension setup

MTB fork air pressure FAQ

How much PSI should I put in my MTB fork?

There is no universal PSI value based only on rider weight. Use the recommendation for your exact fork model and travel as a starting point, then verify the setup with SAG and trail testing.

How do I calculate fork SAG?

Divide the measured fork movement by the fork’s available travel and multiply by 100. For example, 30 mm of movement on a 170 mm fork equals approximately 17.6% SAG.

Does more fork pressure reduce SAG?

Generally, increasing air pressure increases spring support and reduces SAG. Decreasing pressure generally increases SAG.

Should I add PSI if my fork bottoms out?

First verify pressure and SAG. If the spring setup is already appropriate, compression damping or air-spring progression may be more relevant. Occasional full-travel use on sufficiently large impacts can also be normal.

Should I add PSI or HSC?

If SAG and general ride height are incorrect, spring pressure should normally be checked first. If spring support is appropriate but the fork still needs additional control during faster impacts, high-speed compression may be a more appropriate tuning variable.

Why does my fork pressure read lower after reconnecting the pump?

Connecting the shock pump adds the hose and gauge volume to the pressurized system. This can reduce the pressure displayed on the gauge even if the fork has not developed a leak.

Does adding volume spacers increase fork pressure?

Volume spacers primarily reduce air-spring volume and increase progression deeper in the travel. They are not the same adjustment as increasing initial air pressure.

Should I recheck rebound after changing PSI?

Yes, especially after meaningful pressure changes. Higher spring force creates more return force and may require a different rebound setting.

Can SAGLY calculate my MTB fork settings?

SAGLY helps riders find personalized suspension starting values, record fork and shock settings and fine-tune the setup based on how the bike behaves on the trail.

Get a starting setup for your actual fork

Fork pressure is only the beginning. SAGLY helps you work with your actual fork, bike and rider information to build a complete suspension setup.

Save pressure, SAG, rebound, compression and other settings, record how the bike feels and improve your setup one controlled change at a time.

Get my fork setup with SAGLY
Scroll to Top
Cookie Consent Banner by Real Cookie Banner