Setting SAG MTB – What is that again?
The negative suspension travel – better known under the term SAG – is the part of the suspension travel that is compressed solely by the rider’s weight. Normally the SAG should take up between 15-35% of the maximum available suspension travel. The less SAG, the tighter, but also the less sensitive the chassis becomes. Setting SAG MTB is not hard. In this post we will show how this is done.
Setting SAG MTB in practice
All you need is a Multi-Tool, a yardstick and a fork pump. You can start setting SAG at your fork first. First you need to pull down the O-ring of your fork. If your suspension part does not have one, do not worry. Just ask a buddy of yours to help you with the setting SAG MTB process. Well as a next step, stand on your bike and then go down from your mountain bike carefully. You should use your riding gear, in order to simulate your riding weight thus getting the right SAG results. Do not use any break of your mountain bike, this can lead to wrong results.
Let’s start with the fork
For the fork we suggest setting your SAG between 20% and 40%. So how do you calculate this number? Simply measure with the yardstick the total travel of your fork and measure the distance of travel you just used. If you do not have an O-Ring your buddy should measure the distance of travel, which is left on your fork while standing on your bike.
The magic formula for setting the SAG
Then divide the used travel by the total travel and then multiply it with 100. As a result you get the percentage of the SAG.
This value should be between 20 and 40%. In case it is lower, reduce the air pressure and release 5 PSI from your fork’s air chamber. If it is too high, add some air (5 PSI). Repeat these setups until you reach your desired SAG value.
In case you do not have the O-ring and your friend measured the travel which was left, the formula is the following: Substract the travel your friend measured from the total travel. Divide the result by the total travel and then multiply it with 100.
And what about the shock? Setting SAG mtb for the shock.
Setting SAG MTB for your shock is the same process. But we suggest using a SAG value between 15 and 25%. If you do not have an O-ring, first measure the distance between eye to eye. Eye to eye means measure and record the distance from the center of one shock mounting bolt to the center of the other shock mounting bolt. Then you have the total travel. You can then use the same method like above to find out what SAG you have on your shock.
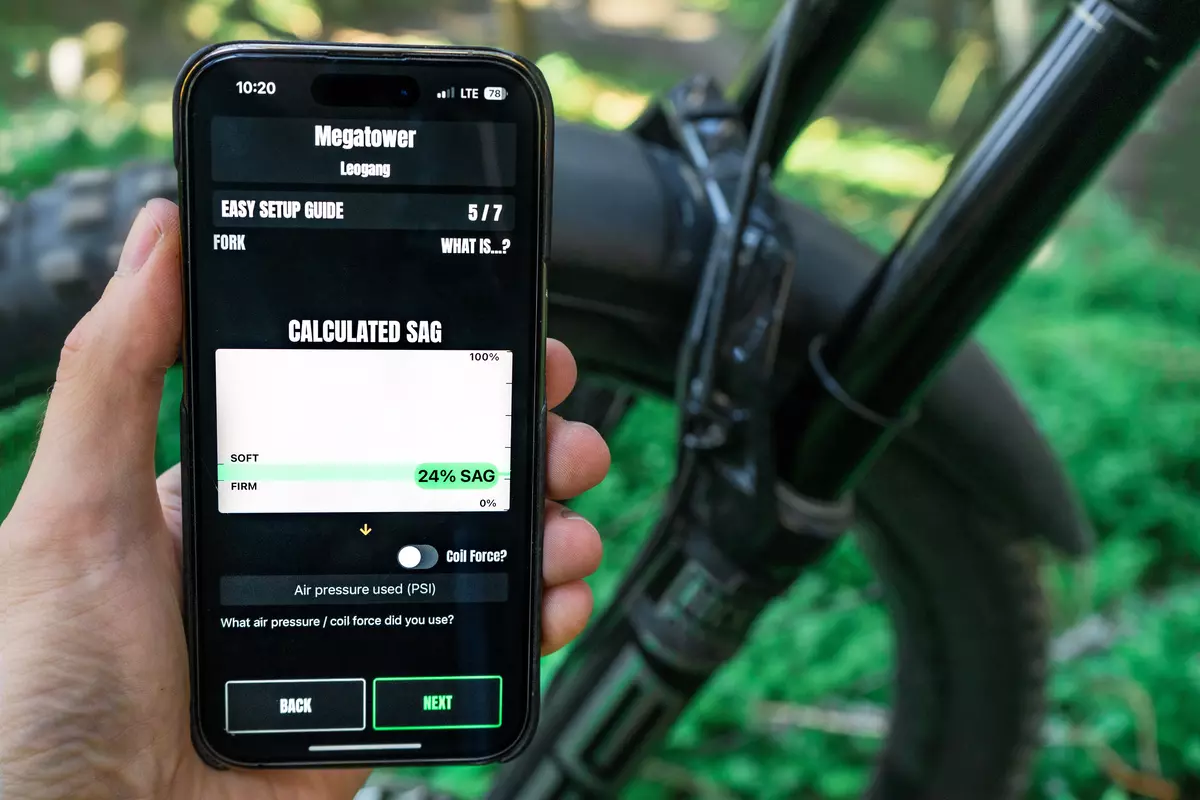
SAG calculator built in, in the SAGLY mobile app
We hope this practical test helps you to set your SAG. A handy EASY SETUP GUIDE you also find on our mobile App, which guides you step by step through the SAG setup with a built in SAG calculator. This mobile app comes with many great features. Document, tune and compare your mountain bike settings with SAGLY. If you want to keep on reading in our blog, here is a MTB setup guide on how to adjust the rebound of your shock.
Download SAGLY, a complete mobile guide for your mountain bike riding, suspension settings and maintenance.

