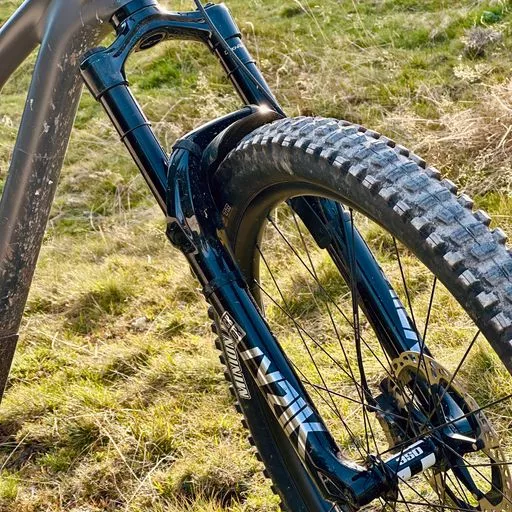
Rockshox fork setup – Step by step
Setting up the suspension on your mountain bike is crucial for ensuring a safe and comfortable ride on the trails. One of the most popular suspension systems on the market today is the RockShox suspension system. In this article, we will walk you through the process of a rockshox fork setup on your mountain bike.
Step 1: Check SAG for your rockshox fork setup
The first step for your rockshox fork setup is to check the SAG. SAG is the amount of compression in the suspension when you are sitting on your bike in a riding position. To check the SAG, first, sit on your bike in a riding position and have a friend or partner measure the distance between the beginning of the travel and the o-ring on the shock. Next, get off the bike and measure the distance the beginning of the travel and the o-ring again. The difference between the total travel and this measurement is your SAG.
The recommended SAG for a RockShox suspension is approximately 20-30% of the total travel. For example, if your RockShox suspension has 100mm of travel, the recommended SAG would be 20-30mm. If your SAG is too low or too high, you will need to adjust the air pressure in the shock.
To adjust the air pressure in your RockShox suspension, you will need a shock pump. The recommended air pressure for your RockShox suspension can be found in the owner’s manual or on the RockShox website or in the SAGLY application.
Step 3: Adjust Rebound
The rebound adjustment controls the rate at which the suspension returns to its original position after being compressed. To adjust the rebound, first, locate the rebound adjustment knob on the shock. The rebound adjustment knob is usually located near the bottom of the shock.
To adjust the rebound, first, set the rebound adjustment knob to the middle position. Next, ride your bike on a smooth trail and test the rebound. If the rebound is too slow, turn the adjustment knob counterclockwise. If the rebound is too fast, turn the adjustment knob clockwise. Repeat this process until you find the rebound that feels comfortable for you. Then you have a good rockshox fork setup for rebound and air pressure.
Step 4: Adjust Compression
The compression adjustment controls the rate at which the suspension compresses. To adjust the compression, first, locate the compression adjustment knob on the shock. The compression adjustment knob is usually located near the top of the shock.
Let’s start in middle for your rockshox fork setup
To adjust the compression, first, set the compression adjustment knob to the middle position. Next, ride your bike on a smooth trail and test the compression. If the compression is too soft, turn the adjustment knob clockwise. If the compression is too harsh, turn the adjustment knob counterclockwise. Repeat this process until you find the compression that feels comfortable for you.
Step 5: Check the Setup
Once you have completed the steps above, it’s time to check your setup again. Repeat the SAG check and adjust the air pressure as necessary. Ride your bike on different types of trails and make adjustments as needed. Remember that your suspension setup is a personal preference and what works for one person may not work for another.
We hope you enjoyed this guide on doing a rockshox fork setup
In conclusion, setting up the suspension on your mountain bike is crucial for ensuring a safe and comfortable ride on the trails. By following the steps outlined in this article, you will be able to do a proper rockshox fork setup. To get more help try out the mobile app SAGLY. With SAGLY you can document, tune and compare your mountain bike settings.
Download SAGLY, a complete mobile guide for your mountain bike riding, suspension settings and maintenance.

