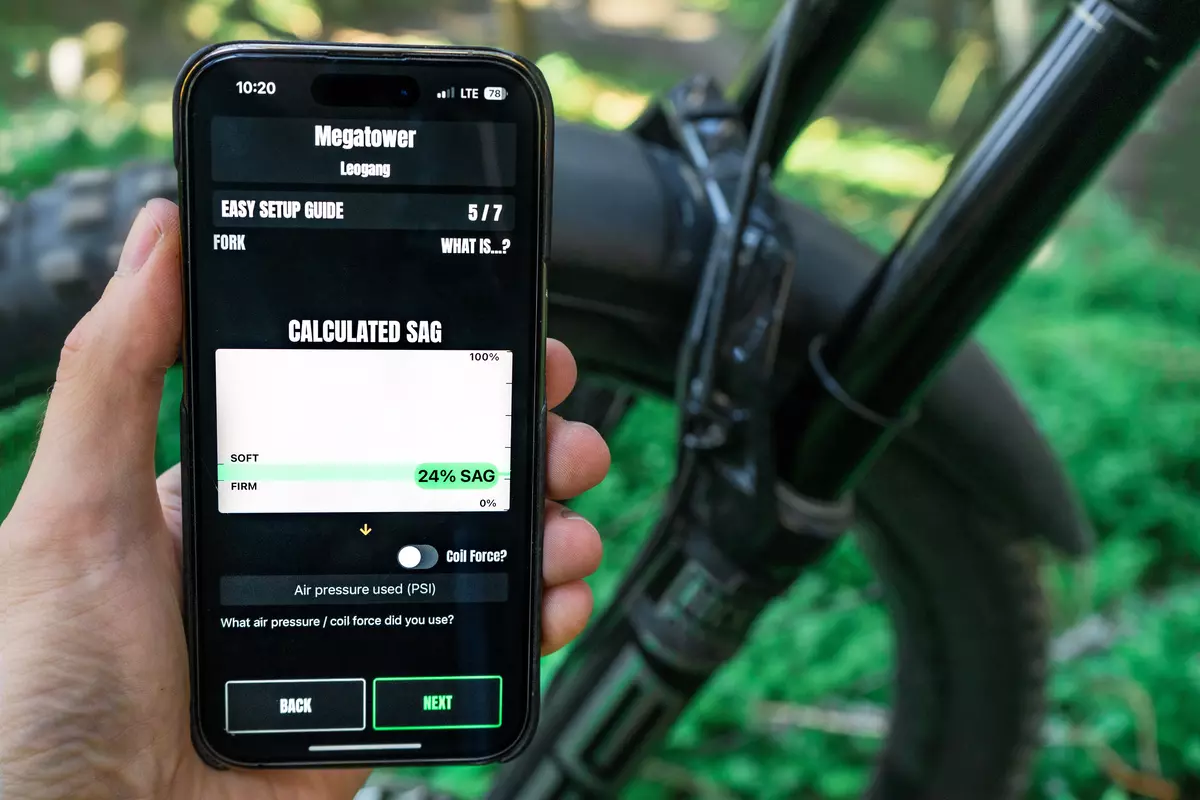
Whether you have a MTB SAG calculator or not, setting SAG on your MTB is a must-do.
Setting your SAG on your mountain bike is maybe the most important parameter you have to get right for your suspension setup. Still it is just a starting point and you should do further adjustments later on, based on the terrain you are riding or your riding preference. Wether you do it manually or with the SAGLY’S built in MTB SAG calculator, just keep in mind: Do it ;-)!
Find the suspension elements on your bike before using the MTB SAG calculator
1. First, locate the shock on your bike. The shock is the spring-loaded suspension component that helps smooth out the bumps and rough terrain on the trail. It is typically located between the frame and the rear wheel. If you are not sure where to find the shock on your bike, consult the owner’s manual or the manufacturer’s website for more information. Your fork is in the front of your bike. You should set SAG on both suspension elements. SAGLY, a mobile app which helps you with your mountain bike settings, has a built in MTB SAG calculator, which helps you to set your SAG with ease.
2. Next, adjust the air pressure or spring tension in the shock to achieve the correct SAG. SAG is the amount that the shock compresses when you sit on the bike in a normal riding position. The correct amount of SAG will vary depending on your weight, riding style, and the type of terrain you are riding on, but is typically around 20-30% of the shock’s total travel. For example, if your shock has 100mm of total travel, the correct SAG would be around 20-30mm. This would be calculated automatically for you when using SAGLY’S MTB SAG calculator.
3. To adjust the air pressure or spring tension in the shock, you will need a shock pump. This is a specialized tool that is designed to accurately measure and adjust the air pressure in the shock or fork. You can purchase a shock pump at most bike shops or online retailers.
Let’s take a sit on your bike
4. To set the SAG, first sit on the bike in a normal riding position, with your feet on the pedals and your hands on the handlebars. Then, have a friend help you measure the amount of SAG in the shock when you are sitting on the bike and he is measuring the amount the suspension compresses. Use a ruler or a tape measure to measure the distance that the shock compresses. A more detailed description how to measure SAG is available here.
What to do, when the results in the MTB SAG calculator are not perfect ….
5. If the SAG is too low (meaning that the shock does not compress enough when you sit on the bike), you will need to decrease the air pressure or spring tension in the shock. Use the shock pump to release air or adjust the spring tension until you achieve the correct amount of SAG. To release air from the shock, attach the shock pump to the air valve on the shock and press the button or lever on the pump to release air. To adjust the spring tension, consult the owner’s manual or the manufacturer’s website for instructions on how to do this. SAGLY’S MTB SAG calculator gives you suggestions, how much air pressure you should add or remove, to reach the right SAG.
6. If the SAG is too high (meaning that the shock compresses too much when you sit on the bike), you will need to increase the air pressure or spring tension in the shock. Use the shock pump to add air or adjust the spring tension until you achieve the correct amount of SAG. To add air to the shock, attach the shock pump to the air valve on the shock and pump the handle until you reach the desired air pressure. To adjust the spring tension, consult the owner’s manual or the manufacturer’s website for instructions on how to do this.
Last step: Test and fine-tune
7. Once you have achieved the correct SAG, test the bike by riding it on a variety of terrain. Adjust the air pressure or spring tension as needed to fine-tune the suspension and achieve the best possible ride quality. Pay attention to how the bike feels while you are riding, and make small adjustments as needed to achieve the desired suspension performance.
In summary, setting the SAG on your mountain bike is a simple process that involves adjusting the air pressure or spring tension in the shock to achieve the correct amount of SAG. By following the steps outlined above, you can easily set the sag on your mountain bike and enjoy a smooth and comfortable ride on the trails. With SAGLY’S built in MTB SAG calculator you can set your mountain bike’s SAGLY quite easily. Moreover document, tune and compare your mountain bike settings with SAGLY. Download the app now in the App Stores.
Download SAGLY, a complete mobile guide, which helps you set up your MTB settings and maintain your bike.

