MTB fork air pressure guide – SAGLY
When it comes to optimizing your mountain biking experience, your bike’s suspension is a crucial factor. Properly setting up and continuously improving the air pressure in your fork can make a world of difference in your ride quality, control, and comfort on the trails. In this blog post, we’ll guide you through the steps to set up and fine-tune your fork’s air pressure, ensuring that your bike performs at its best. Enjoy this MTB fork air pressure guide.
Step 1 in this MTB fork air pressure guide: Gather the Necessary Tools for your
Before you start tinkering with your fork’s air pressure, make sure you have the following tools and equipment on hand:
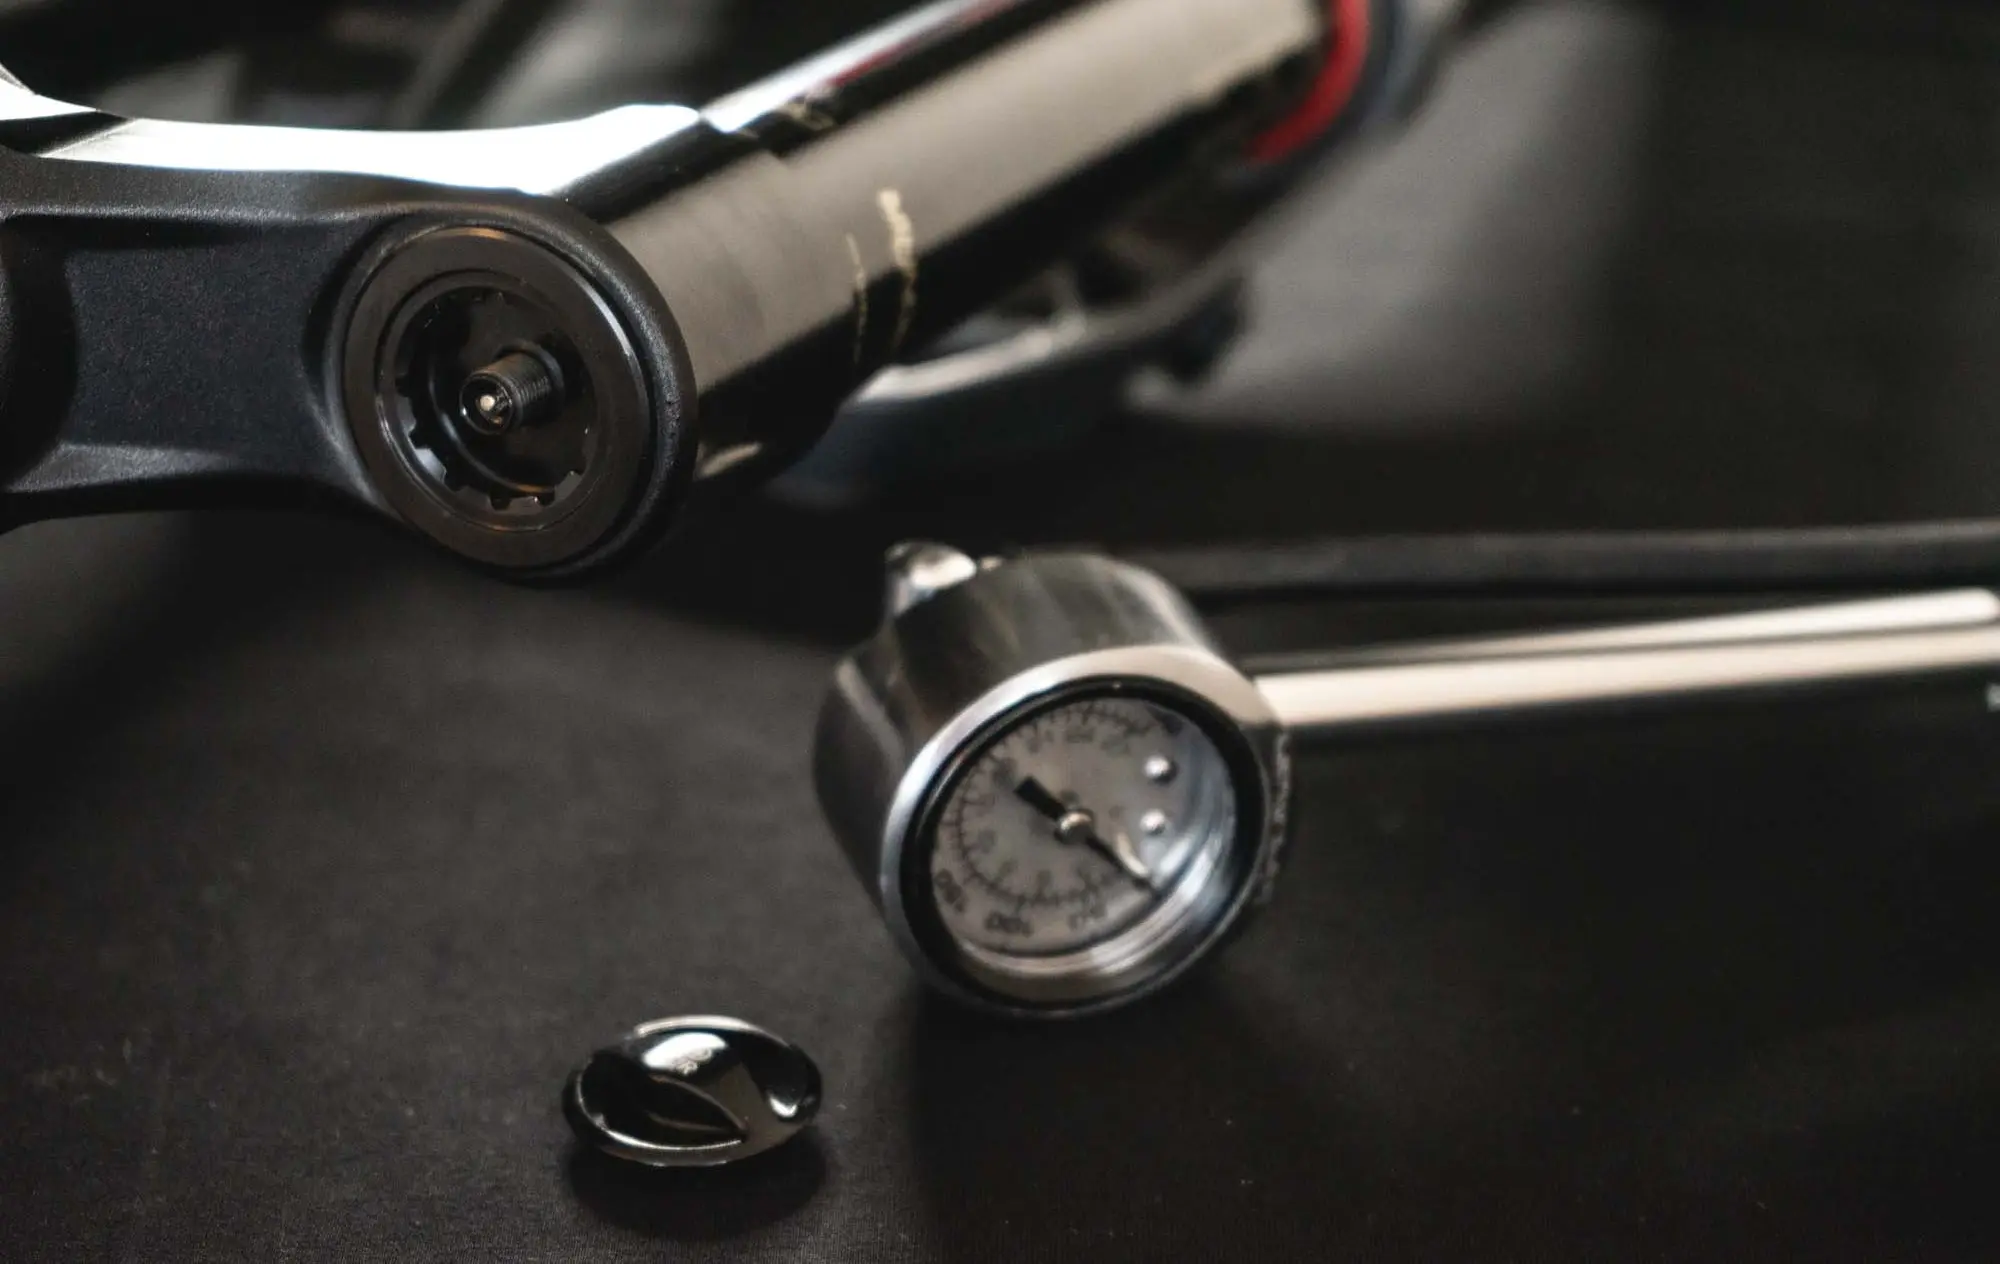
- A shock pump: You’ll need a shock pump designed for suspension forks, which allows for precise air pressure adjustments.
- Suspension settings chart or SAGLY: This chart can often be found in your bike’s user manual or on the manufacturer’s website. It provides recommended starting air pressure values based on your weight and riding style. Of course you can use SAGLY instead. SAGLY has a FACTORY RECOMMENDATION feature, which generates automatically the settings for your fork model based on your body physique.
Step 2: Find Your Baseline Air Pressure
Every fork manufacturer provides guidelines for setting your fork’s air pressure based on your weight and riding style. Refer to the suspension settings chart to find your recommended baseline air pressure. Keep in mind that these are just starting points, and you may need to make further adjustments to achieve your desired performance. What makes this whole process easier is the built in MTB fork air pressure guide of the mobile SAGLY. SAGLY has many useful guides which makes it easy for your to find the ideal air pressure for your fork.
Step 3: Measure and Adjust
Now, follow these steps to set up your fork’s air pressure:
- Make sure your fork is fully extended. This means it’s at its maximum travel, and no weight is compressing it.
- Attach the shock pump to the fork’s air valve and check the current air pressure. If it’s not within the recommended range, release or add air until it matches your baseline pressure.
- Recheck the air pressure to ensure it’s accurate. Remember to measure it with the fork in its fully extended position for precise results. This is a very important part in this MTB fork air pressure guide.
Step 4: Test Your Setup
After setting your fork’s air pressure to the recommended baseline, it’s time to take your bike for a test ride. Pay attention to how it feels on the trail. Here are some aspects to consider:
- Small bump sensitivity: Does your fork effectively absorb small impacts and maintain traction?
- Bottoming out: If your fork feels like it’s bottoming out too easily, you might need to increase the air pressure. Conversely, if it’s too harsh, consider reducing the air pressure.
- Handling and control: Does your bike handle well, and can you maintain control over rough terrain?
- Comfort: Is your ride comfortable, or do you feel excessive vibrations and impacts through the handlebars?
Step 5: Make Fine-Tuning Adjustments
Based on your test ride, you may need to fine-tune your fork’s air pressure. Here are some tips:
- Increase air pressure for a firmer ride and better support, especially if you’re bottoming out too easily.
- Decrease air pressure for a more supple ride and improved small bump sensitivity, but be mindful of not going too low to avoid bottoming out too often.
- Take notes of your adjustments, so you can revert to a previous setup if needed. You can also use SAGLY here. SAGLY will save all your settings and changes of your suspension setup and displays them in a intuitive user interface.
Step 6 in this MTB fork air pressure guide: Continuous Improvement
Mountain biking is all about progression, and as you become a better rider or encounter different terrains, your suspension needs may change. Regularly revisit your fork’s air pressure settings to ensure they align with your current skill level and riding conditions.
Mastering your bike’s suspension begins with setting up and continuously improving the air pressure in your fork. With the right tools and a methodical approach, you can fine-tune your bike to deliver a smooth, controlled, and comfortable ride on the trails. Remember, the perfect setup is a personal preference, so don’t be afraid to experiment and make adjustments until you find the ideal balance for your riding style. We hope you enjoyed this MTB fork air pressure guide.
Download SAGLY, a complete mobile guide, which helps you set up your MTB settings and maintain your bike.