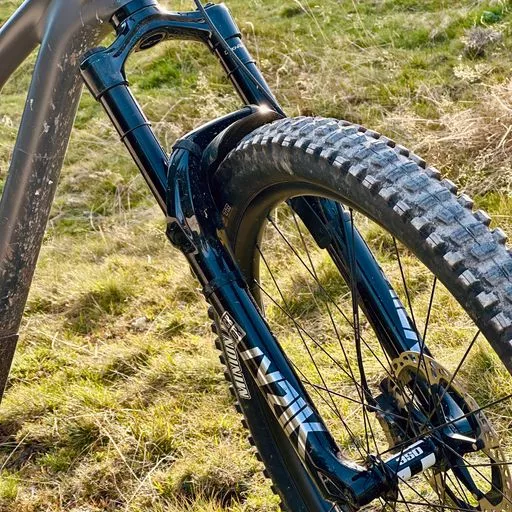
Rockshox set up
Rockshox set up for the shock on a mountain bike in order to become a faster rider
As a mountain biker, your goal is not only to have a safe and comfortable ride on the trails, but also to maximize your performance and become a faster rider with a Rockshox set up. One of the most important components in achieving this goal is ensuring that your suspension is set up correctly. The RockShox suspension system is a popular choice among mountain bikers, and in this blog post, we will focus on how to adjust the RockShox shock to become a faster rider.
Step 1: Check SAG first for your Rockshox set up
The first step in setting up your RockShox suspension is to check the sag. SAG is the amount of compression in the suspension when you are sitting on your bike in a riding position. To check the SAG, first, sit on your bike in a riding position and have a friend or partner measure the distance between the beginning of the travel and the o-ring on the shock. Next, get off the bike and measure the distance between the beginning of the travel and the o-ring again. The difference between these two measurements is your SAG.
To become a faster rider, you want to aim for a SAG of around 25% of the total travel. This will provide a balance between stability and traction, allowing for better control and faster riding. If your SAG is too low or too high, adjust the air pressure accordingly for your rockshox set up.
To adjust the air pressure in your RockShox suspension, you will need a shock pump. The recommended air pressure or SAG for your RockShox suspension can also be found in the owner’s manual or on the RockShox website.
To adjust the air pressure, first, remove the air valve cap on the shock. Next, attach the shock pump to the air valve and begin pumping air into the shock. Keep an eye on the sag as you pump air into the shock, and stop pumping when you reach the recommended SAG. Once you reach the recommended SAG, remove the shock pump and replace the air valve cap.
Now if you use SAGLY for setting your SAG, you have many advantages. Firstly you save time by using SAGLY integrated SAG calculator. Moreover there is another neat feature. All factory recommendation guides of SAGLY are integrated in the app, so you do not need to search those documents.
Step 3: Adjust Rebound
The rebound adjustment controls the rate at which the suspension returns to its original position after being compressed. To adjust the rebound, first, locate the rebound adjustment knob on the shock. The rebound adjustment knob is usually located near the bottom of the shock or fork.
To become a faster rider, you want to aim for a faster rebound setting. This will help the suspension return quickly, providing better traction and control, allowing you to maintain speed and flow through the trails. Test different rebound settings and find the one that feels comfortable and provides the best performance. But be careful, too fast rebound can make your riding worse.
Step 4: Adjust Compression
The compression adjustment controls the rate at which the suspension compresses. To adjust the compression, first, locate the compression adjustment knob on the shock. The compression adjustment knob is usually located near the top of the shock.
To become a faster rider, you want to aim for a firm compression setting. This will help the suspension to respond quickly, providing better control and stability, allowing you to tackle more technical terrain with speed and confidence. Test different compression settings and find the one that feels comfortable and provides the best performance.
Step 5: Experiment with Settings
Once you have completed the steps above, it’s time to experiment with different settings to find the best setup for you. Try different combinations of SAG, air pressure, rebound, and compression settings. Remember that your suspension setup is a personal preference, and what works for one person may not work for another. Exaclty for this reason SAGLY was developed by us. You can keep track of all changes, which you make to your suspension and also dial into your SAGLY application in the HISTORY feature.
Finally you have a good Rockshox set up
In conclusion, adjusting the setup of your RockShox suspension is crucial for maximizing your performance and becoming a faster rider on the trails. By following the tips outlined in this blog post, you can fine-tune your suspension to provide the best balance of stability, traction, and support.
You should also download the mobile app SAGLY. SAGLY helps you document, tune and compare your mountain bike settings. This app goes in more depth for your rockshox set up. There is a built in SAG calculator and you get even better suggestions for the other settings like compression and rebound. Of course you can keep track of your changes and keep tuning with the FEEDBACK LOOP feature.
Download SAGLY, a complete mobile guide for your mountain bike riding, suspension settings and maintenance.

