
MTB fork SAG guide and calculator
MTB Fork SAG Calculator: Measure and Set Fork SAG Correctly
Calculate your current fork SAG, find the required O-ring movement for a target percentage and learn how to measure it without the most common setup errors.
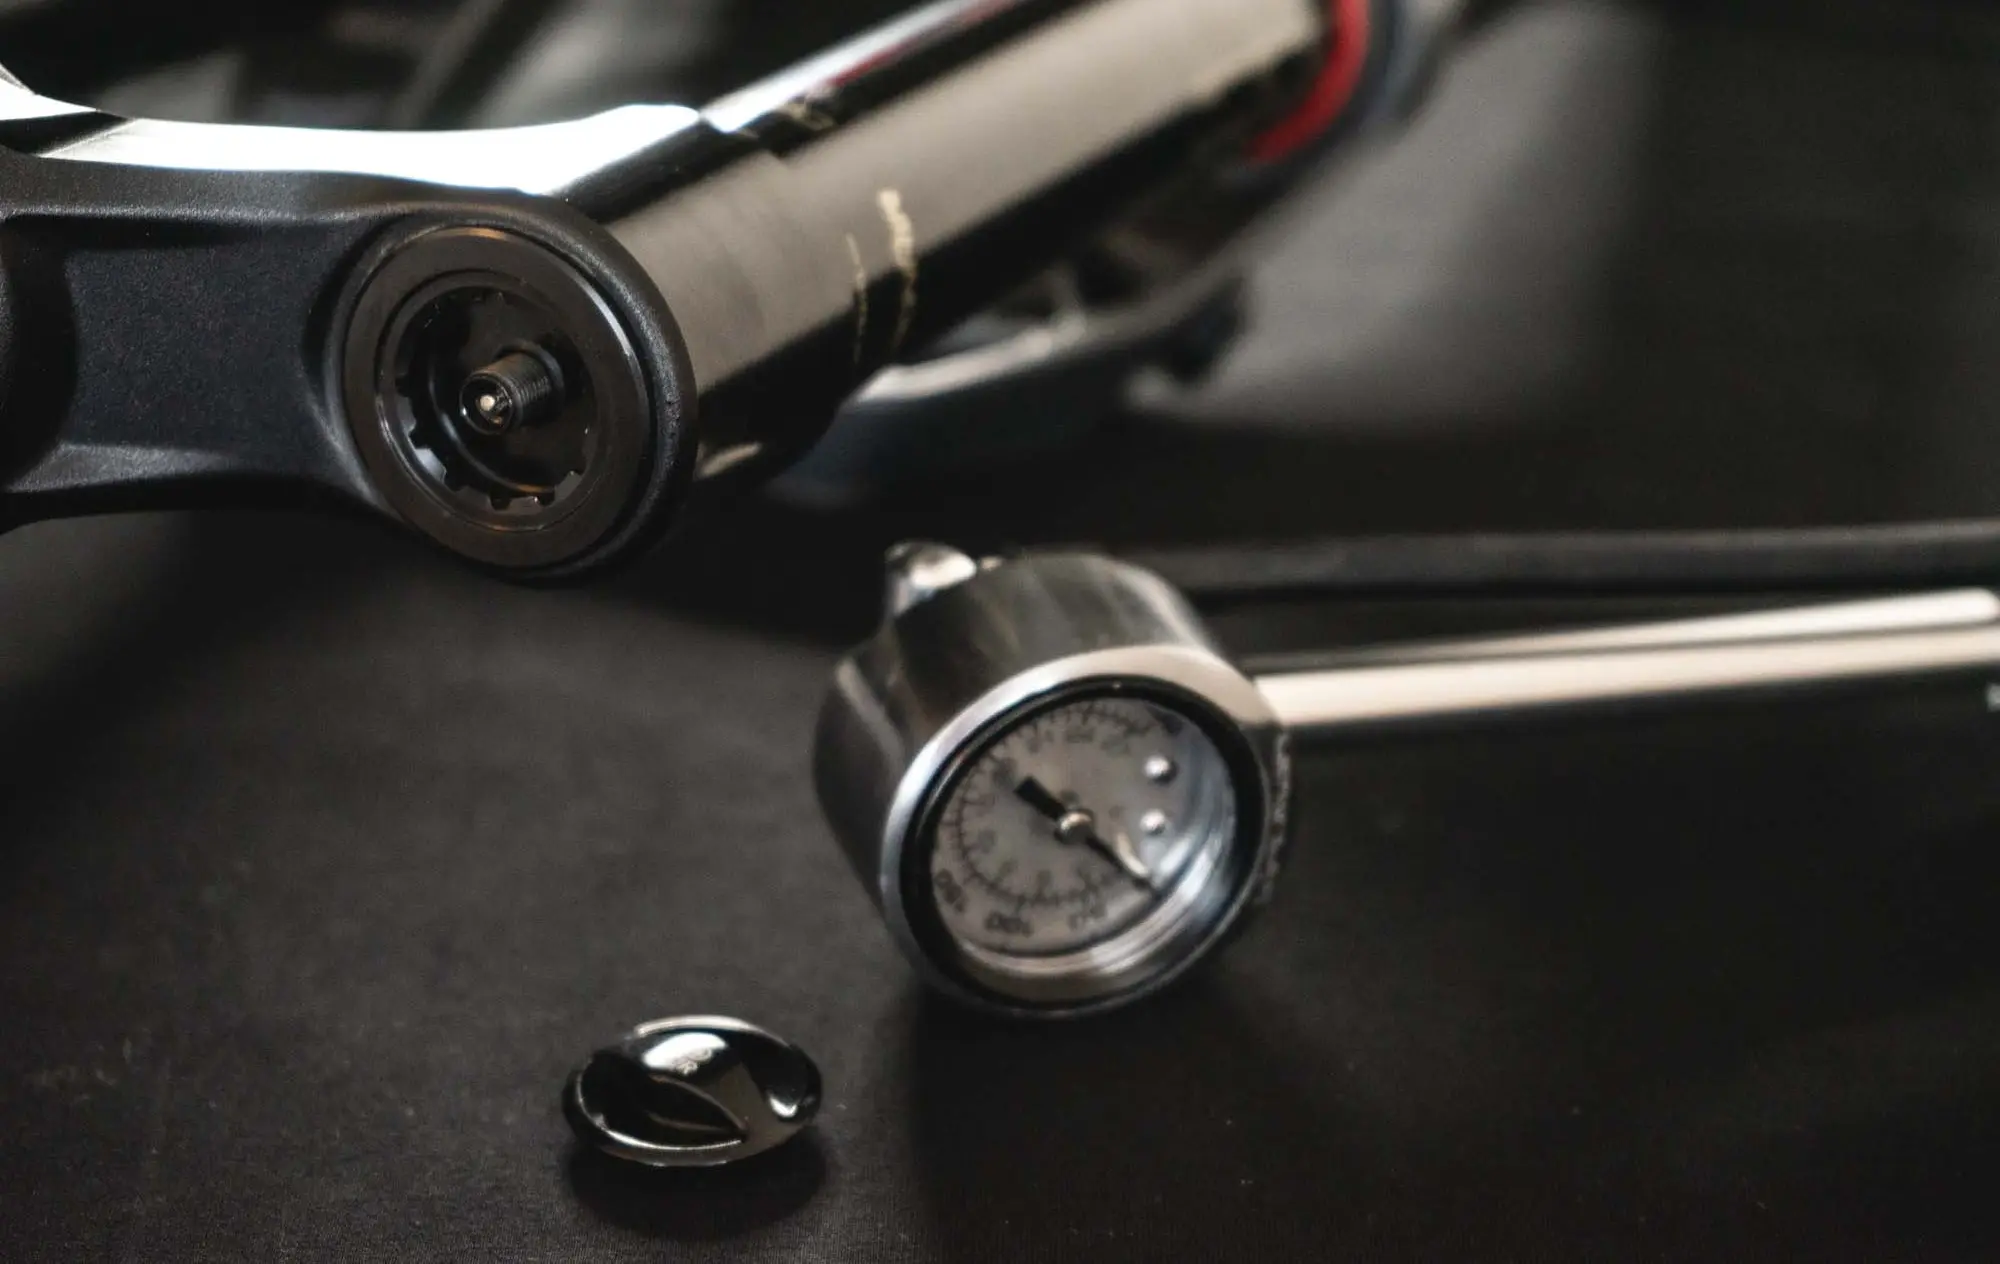
Quick answer
Fork SAG is the amount of travel your fork uses under your normal riding load. Calculate it by dividing the measured O-ring movement by the fork’s actual travel and multiplying by 100. Around 15–20% is a common starting area for many mountain-bike forks, but the correct value depends on the fork, bike, terrain, riding position and manufacturer guidance. Measure repeatedly, use full riding equipment and treat SAG as a baseline rather than a final tuning target.
Calculate fork SAGMTB fork SAG calculator
Enter the fork’s actual travel and the distance the O-ring moved while you were in your normal riding position. Do not use exposed stanchion length unless it exactly equals the fork’s specified travel.
—
Calculate the O-ring movement for a target SAG
Use this to see how many millimetres of fork movement correspond to your chosen target.
—
What is MTB fork SAG?
Fork SAG is the amount the fork compresses from full extension when the rider is on the bike in a defined riding position. It gives the front wheel room to move both upward over impacts and downward into dips, while establishing front ride height and the fork’s starting position in its travel.
SAG is not the same as total travel used on a ride. SAG is a static setup measurement. Travel use is a dynamic result influenced by trail impacts, braking, speed, pressure, damping, spring progression and rider technique.
Fork SAG formula
Fork SAG (%) = O-ring movement ÷ fork travel × 100
Example: 28 mm of movement on a 160 mm fork equals 17.5% SAG.
How much fork SAG should you run?
For many modern mountain-bike forks, approximately 15–20% is a useful starting area. That is not a universal rule. The manufacturer’s model- and travel-specific recommendation should come first, and the final setup should be verified on the trail.
| Starting area | Possible result | Important context |
|---|---|---|
| Approximately 12–16% | Higher ride height and more support, but potentially less sensitivity or grip if taken too far. | Sometimes preferred for efficient riding or highly supportive setups. Verify that the fork still tracks the ground. |
| Approximately 15–20% | Common balanced starting area for many trail, all-mountain and enduro applications. | Use the fork manufacturer’s guidance and test pressure, rebound and compression together. |
| Approximately 20–22% | More initial movement and potentially more grip, but reduced ride height and support if unsuitable for the fork or rider. | Do not assume more SAG always means more comfort. Excessive dive or low ride height may reduce control. |
Do not copy rear-shock SAG numbers onto the fork. Rear shocks commonly use more SAG than forks because the frame’s leverage ratio and suspension design change how shock movement relates to wheel movement.
How to measure fork SAG correctly
A repeatable process matters more than chasing a decimal. Measure several times and use the same position, gear and technique each time.
- Confirm the exact fork and travel.
Record the model, generation, wheel size and actual travel. Do not estimate travel from exposed stanchion length. - Check tire pressure and fork condition.
A very firm front tire, sticky seals or a service problem can distort how the fork feels even if SAG looks correct. - Wear normal riding equipment.
Include helmet, shoes, pack, water, tools and protection you normally carry. - Set compression for measurement.
Use the manufacturer’s recommended open or neutral measurement position. Do not assume every damper should simply be turned fully open. - Cycle and equalize an air fork.
After changing pressure, compress the fork several times through part of its travel where the manufacturer requires chamber equalization. Recheck pressure afterward. - Move the O-ring to the dust wiper.
Make sure the stanchion and O-ring are clean before measurement. - Take a neutral attack position.
Stand with balanced pressure through hands and feet. Look forward and avoid shifting all your weight onto the handlebar. - Avoid bouncing and hard braking.
Bouncing, pulling the front brake or leaning against a wall can produce an inconsistent reading. A helper is the most repeatable option. - Step off carefully.
Do not compress the fork again while leaving the bike. - Measure and repeat.
Measure the distance from the dust wiper to the O-ring. Repeat at least two or three times and use a consistent result.
Standing or seated: which position should you use?
For trail, enduro and downhill bikes, a neutral standing attack position is usually the most relevant because it represents the position used during technical descending. For cross-country or other bikes where seated riding dominates, manufacturer guidance may define a different method.
The critical point is consistency. Do not compare one measurement taken seated with another taken standing and treat the difference as a pressure change.
Neutral attack position
- Level pedals
- Knees and elbows relaxed
- Hips centered over the bike
- Balanced pressure through hands and feet
- Normal riding gear worn
Avoid these measurement positions
- Sitting upright with very little front-wheel load
- Leaning heavily on the handlebar
- Pulling the front brake and rocking forward
- Bouncing to push the O-ring farther
- Using a different stance on every attempt
Common fork-SAG measurement errors
| Error | Why it changes the result | Better method |
|---|---|---|
| Using exposed stanchion length as travel | The visible length can differ from the fork’s specified travel. | Use the official travel specification for the exact fork. |
| Measuring without riding gear | Helmet, protection, water and tools can materially change total riding load. | Measure in normal riding equipment. |
| Not equalizing air chambers | Some air springs need to be cycled after a pressure change for the positive and negative chambers to balance correctly. | Follow the model-specific inflation procedure and recheck pressure. |
| Holding the front brake and rocking forward | This creates a dynamic load that can push the O-ring beyond the static riding position. | Use a helper or stable support without forcing the fork deeper. |
| Changing body position | Small shifts in hand and foot pressure can noticeably change fork movement. | Use the same neutral stance for every test. |
| Measuring only once | Seal friction and body movement can create a misleading single reading. | Repeat the process and use a consistent average. |
| Connecting the pump and assuming the number did not change | The pump hose volume can alter the displayed pressure when connected. | Use SAG as the main verification and document the pump and method used. |
How to adjust fork SAG
For an air fork, adjust SAG primarily with air pressure. For a coil fork, use the correct spring rate and only the permitted amount of preload. Make small changes, repeat the complete measurement process and record the result.
To reduce SAG
- Add a small amount of air pressure.
- Cycle the fork where required and recheck pressure.
- Measure again in the same riding position.
- For a coil fork, verify spring rate before adding excessive preload.
To increase SAG
- Release a small amount of air pressure.
- Cycle and equalize the fork where required.
- Measure again with the same equipment and stance.
- For a coil fork, consider a lighter spring if preload cannot produce the required result safely.
After changing pressure, revisit rebound. A higher spring pressure creates more return force and may need more rebound damping. A lower pressure may need less.
For the complete sequence—including pressure, rebound, compression and volume spacers—use the complete MTB front-suspension setup guide.
What too much or too little fork SAG feels like
SAG is only one variable, so treat these as possible clues rather than automatic diagnoses. Tire pressure, damping, air-spring progression, friction, bike geometry and riding technique can produce similar symptoms.
Possible signs of too much SAG
- Front rides low in its travel.
- Fork dives excessively during braking or steep sections.
- Bike feels vague or under-supported in corners.
- Travel is used too easily on moderate impacts.
- Geometry feels steeper and front ride height feels low.
Possible signs of too little SAG
- Fork feels tall and reluctant to move.
- Front tire has less grip over small bumps and off-camber terrain.
- Hands feel harsh even though travel remains unused.
- Front wheel skips or deflects on roots and rocks.
- Bike feels nervous because the fork does not settle into its working range.
Why the correct SAG number is not the complete setup
Two forks can show the same SAG and still feel very different. Air-spring design, negative-spring behavior, damper tune, friction, volume spacers and chassis stiffness all influence performance. SAG confirms ride height and spring baseline, but it cannot tell you whether rebound is packing down, compression is too firm or the fork needs service.
Once the SAG baseline is repeatable, test the fork on a familiar section with braking bumps, corners, repeated impacts and one larger compression. Change only one variable at a time.
Use this tuning order
- Check tire pressure and mechanical condition.
- Set pressure or spring rate.
- Measure and verify SAG.
- Set rebound from a documented reference.
- Set compression for support and grip.
- Evaluate travel use.
- Consider volume spacers only after the basics are close.
Fork SAG troubleshooting
| Problem | Possible cause | First check |
|---|---|---|
| SAG changes between repeated measurements | Inconsistent body position, braking, seal friction or incomplete chamber equalization. | Use a helper, repeat the same stance and cycle the fork before measuring. |
| Correct SAG but fork feels harsh | High tire pressure, too much compression damping, slow rebound packing, friction or service issue. | Do not immediately lower pressure. Check the complete setup and fork condition. |
| Correct SAG but fork bottoms out | Insufficient compression support, too little progression, unsuitable impacts or inaccurate travel/SAG measurement. | Verify pressure and SAG, then evaluate damping and volume spacers. |
| Correct SAG but fork does not use travel | Too much compression, too many spacers, rebound packing, insufficient impact or friction. | Use the fork-not-using-full-travel guide. |
| Fork loses pressure or SAG increases over time | Temperature change, pump-reading differences, valve problem, seal leak or air-spring issue. | Measure under similar conditions and arrange inspection if pressure loss persists. |
| No O-ring fitted | Some forks do not include one or it may be missing. | Use a clean temporary zip tie carefully without scratching the stanchion, then remove it after measurement. |
Interactive fork-SAG measurement checklist
The checklist saves progress locally in your browser. It does not require an account.
0 of 10 steps complete
Continue your fork setup
Complete fork setup
Set pressure, SAG, rebound, compression and volume spacers in the correct order.
Find a pressure baseline
Understand how riding weight, fork model and setup procedure affect air pressure.
Set rebound
Learn the difference between rebound that is too fast and rebound that packs down.
RockShox-specific setup
Use model-focused guidance for Pike, Lyrik, ZEB, SID and BoXXer forks.
MTB fork SAG FAQ
How do I calculate MTB fork SAG?
Divide the measured O-ring movement by the fork’s actual travel and multiply by 100. For example, 28 mm of movement on a 160 mm fork is 17.5% SAG.
Is 20% SAG good for an MTB fork?
Twenty percent can be a useful starting point for many forks, but it is not automatically correct for every model, bike or rider. Check the manufacturer’s guidance and confirm support, grip, braking behavior and travel use on the trail.
Should I measure fork SAG standing or sitting?
A neutral standing attack position is commonly used for trail, enduro and downhill riding. Some manufacturers or riding disciplines may specify another method. Use the same position every time.
Should compression be open when measuring SAG?
Use the manufacturer’s specified open or neutral measurement position. Damper controls differ, so do not assume every fork uses the same reference.
Why does my fork SAG measurement change every time?
Body position, brake use, seal friction, incomplete air-chamber equalization and the way you step off can all change the result. Use a helper and repeat the same process several times.
Can correct SAG still feel bad on the trail?
Yes. SAG does not diagnose tire pressure, rebound, compression, volume spacers, friction or service condition. It is only the spring and ride-height baseline.
Does adding air pressure reduce SAG?
Yes, adding pressure to an air fork generally reduces SAG. Make small changes, equalize the fork where required, recheck pressure and measure again.
Do I need to change rebound after changing fork pressure?
Often, yes. A pressure change alters spring return force, so rebound may need to be adjusted and retested after the new SAG baseline is established.
Save more than one SAG number
SAGLY helps you keep fork pressure, SAG, rebound, compression, volume-spacer notes and trail feedback together. That makes it easier to compare setups rather than relying on memory.
Build a personalized starting setup, document every change and return to the settings that worked.
Try SAGLY for MTB suspension setup