MTB handlebar setup
MTB handlebar setup tutorial
Mountain biking is all about control and precision, and one of the key components of achieving this is your handlebar setup. Whether you’re a seasoned rider or just getting started, having your handlebars dialed in can greatly impact your comfort, control, and overall riding experience. In this guide, we’ll walk you through the steps to achieve the perfect MTB handlebar setup.
Measure Twice, Cut Once for your MTB handlebar setup
The first step in setting up your mountain bike handlebars is determining the right width for your riding style. Your handlebar width directly affects your control and maneuverability. To find the ideal width, follow these steps:
- Stand next to your bike and let your arms hang naturally at your sides.
- Have a friend measure the distance between your hands’ knuckles.
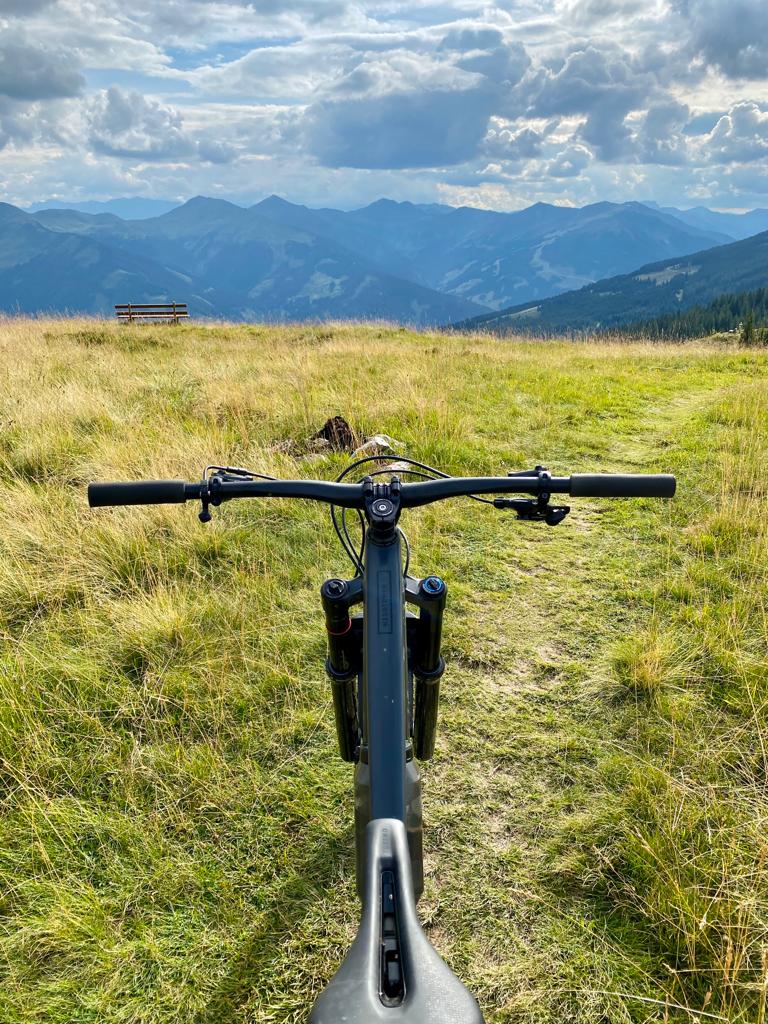
- This measurement is a great starting point for your handlebar width. Most handlebars come in various widths, typically ranging from 700mm to 800mm. Choose the width that’s closest to your measurement.
Set the Handlebar Height
Proper handlebar height is crucial for comfort and control. The ideal height varies depending on your riding style and personal preference. Here’s how to set the handlebar height:
- Loosen the stem bolts and the top cap on your headset to allow the handlebars to move.
- Adjust the handlebar’s height by adding or removing spacers from below or above the stem.
- Once you’ve found a height that feels comfortable, tighten the stem bolts and the top cap to secure the handlebars.
MTB handlebar setup and Fine-Tune the Angle
The angle of your handlebars can make a big difference in your riding experience. Most riders prefer a slightly upward tilt of the handlebars for better wrist comfort and control. However, personal preference plays a significant role in this adjustment, so feel free to experiment.
- To adjust the angle, loosen the faceplate bolts on the stem and rotate the handlebars until you find a comfortable position.
- Ensure the handlebars are straight and aligned with your front wheel.
- Tighten the faceplate bolts to secure the handlebars in place.
Brake and Shift Lever Position
Proper placement of your brake and shift levers is essential for quick and efficient gear changes and braking. Make sure they are easy to reach and comfortable to use.
- Position your brake levers so that they are parallel to the ground or slightly angled downward.
- The shift levers should be within easy reach of your thumb and index finger, allowing you to shift gears without straining.
Consider Grips
The grips on your handlebars can also impact your comfort and control. It’s crucial to choose grips that match your riding style and personal preferences. Some riders prefer thinner grips for more direct feedback, while others opt for thicker, more cushioned grips for extra comfort on long rides.
Test Ride and Make Adjustments
After making the initial adjustments, take your bike for a test ride on your favorite trails. Pay attention to how it feels, and if you notice any discomfort or issues, don’t hesitate to make further adjustments. Your handlebar setup is a personal thing, and finding the right fit may take some trial and error.
A proper MTB handlebar setup is a crucial aspect of optimizing your mountain biking experience. It affects your control, comfort, and overall performance on the trails. Remember to measure twice, cut once when determining the handlebar width, fine-tune the height and angle, and ensure your brake and shift levers are in the right positions. Finally, don’t hesitate to make adjustments as needed until you find the perfect setup that suits your riding style and personal preferences. Happy riding! Do not forget to download SAGLY, a complete guide for your mountain bike setup and maintenance.
Download SAGLY, a complete mobile guide for your mountain bike riding, suspension settings and maintenance.