A Guide to Setting Up Your Rockshox Pike Settings Fork for Your Mountain Bike
A Guide to Setting Up Your Rockshox Pike Settings Fork for Your Mountain Bike
One of the most critical components of a mountain bike is its suspension system, and the RockShox Pike fork is a popular choice among riders seeking top-notch performance on the trails. However, setting up your RockShox Pike fork properly is crucial to ensure a smooth and enjoyable riding experience. In this post, we’ll guide you through the process of setting up your Rockshox Pike Settings and provide you with essential information about this exceptional suspension fork.
Understanding the RockShox Pike Fork and its Rockshox Pike Settings
The RockShox Pike fork is renowned for its versatility and performance, making it a favorite among mountain bikers. It’s available in various models, each offering unique features and adjustability options. Before setting up your Pike fork, it’s essential to know some of its key characteristics:
- Travel: The Pike fork is available in different travel options, typically ranging from 120mm to 160mm. The travel setting determines the fork’s ability to absorb impacts and handle rough terrain. Choose a travel option that suits your riding style and the type of trails you frequent.
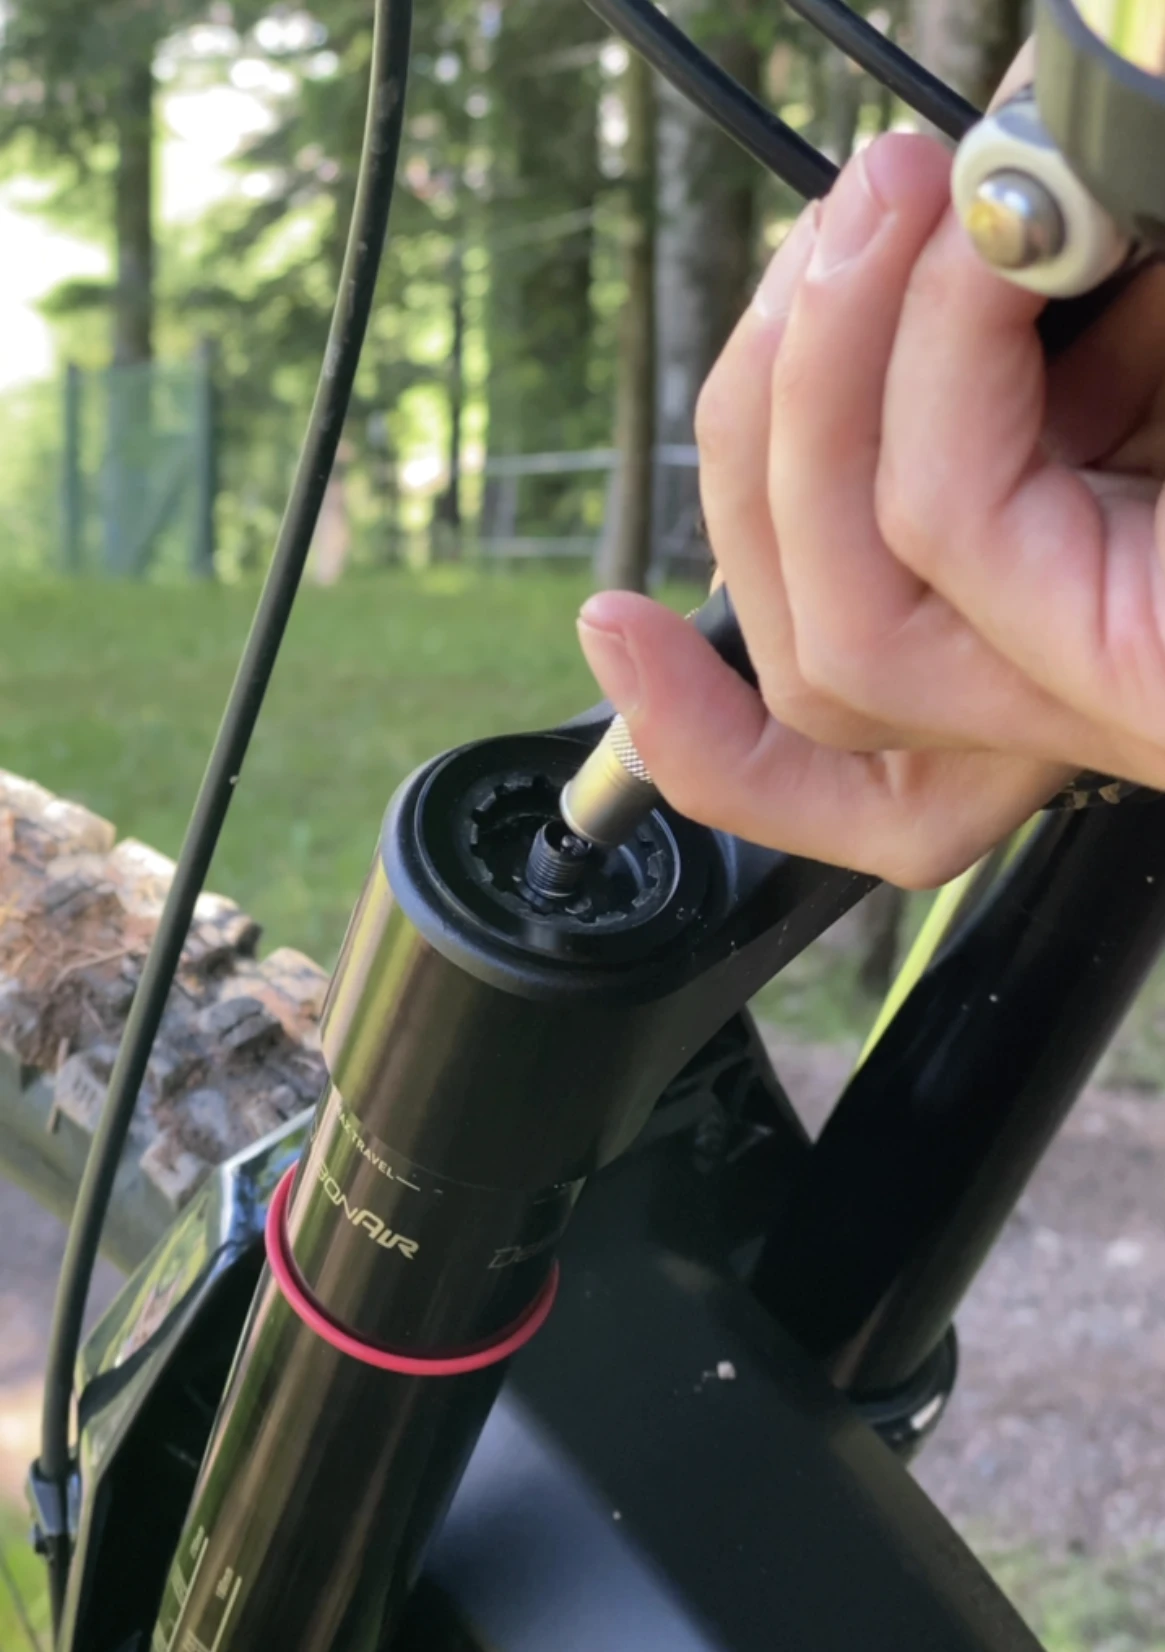
- Air Spring: The Pike fork uses an air spring system, allowing you to adjust the fork’s SAG easily. This feature is essential for fine-tuning the fork’s performance to your weight and riding preferences. Therefore directly related is the Air Pressure setting as one of the relevant Rockshox Pike Settings.
- Damping Adjustments: The Pike fork comes with various damping adjustments, including rebound and compression. These adjustments allow you to control how fast the fork rebounds and how it absorbs impacts. Properly setting these parameters can significantly impact your riding experience. What kind of settings you have on your bike depends on the model you choose:
- Pike
- Select
- Select+
- Ultimate
- Ultimate Flight Attendant
- Offset: The Pike fork offers different offsets, affecting the bike’s handling and steering. A longer offset can make the bike more stable at high speeds, while a shorter offset can make it more agile and responsive in tight corners. Also a setting which should be considered in your Rockshox Pike Settings.
- Charger 3: The highest-performing Charger 3 damper platform gives way to a new era of riding, where the decision between adding more damping and sacrificing your hands to a harsh ride doesn’t exist. The goal; to reduce harshness that makes it to the rider’s hands, leading to having more control and confidence when riding at higher speeds. Through continued testing, learning, tinkering, and feedback provided by the fastest racers in the world, the highest performing damper technology has taken another step forward to deliver even greater results.
- Buttercups: Low amplitude, vibration-reducing compliant material pucks… RockShox calls them ButterCups.
- Debonair+: DebonAir+ was born out of our tireless obsession to optimize air spring performance and deliver a supreme ride feel with consistency you can trust.
Setting Up Your RockShox Pike Fork
Now that you’re familiar with the key features of the RockShox Pike fork, let’s go through the steps to set it up for your mountain bike:
- Measure Your SAG: Start by setting the proper sag for your fork. The sag is the amount the fork compresses when you sit on your bike. Typically, you’ll want around 20-35% SAG for the Pike fork. Adjust the air pressure accordingly to achieve the desired SAG. This setting depends heavily on the terrain, you want to ride and the riding style you have.
- Rebound Adjustment: Set the rebound damping to match your riding style. A slower rebound is suitable for rough and technical trails, while a faster rebound is better for smoother and flowy trails.
- Compression Adjustment: The compression damping controls how the fork absorbs impacts. Experiment with the compression settings to find the right balance between comfort and support. For aggressive riding, you may want to dial up the compression, while for a smoother ride, you can reduce it.
- Regular Maintenance: Keep your Pike fork in optimal condition by performing regular maintenance, such as cleaning, lubricating the seals, and checking for any signs of wear or damage. You want to see, how to do a fork service? Check out these videos on Instagram of Mario, one of the Co-Founders, doing a fork service. Part 1 & Part 2.
Ready to ride?
A properly set up RockShox Pike fork can make a world of difference in your mountain biking experience. Understanding the various features and adjustments available with this fork is crucial for tailoring it to your specific needs and preferences. Take the time to experiment with the settings, fine-tune your suspension, and enjoy the enhanced performance and comfort that your RockShox Pike fork can provide on the trails. Remember that rider feedback and personal experience are also key factors in achieving the perfect setup, so don’t be afraid to make adjustments until you find what works best for you. Happy riding! And … do not forget to download SAGLY.
SAGLY’s AI setup guide recommends you the fitting Rockshox Pike Settings in seconds based on your body physique and riding style.
Download SAGLY, a complete mobile guide, which helps you set up your MTB settings and maintain your bike.

