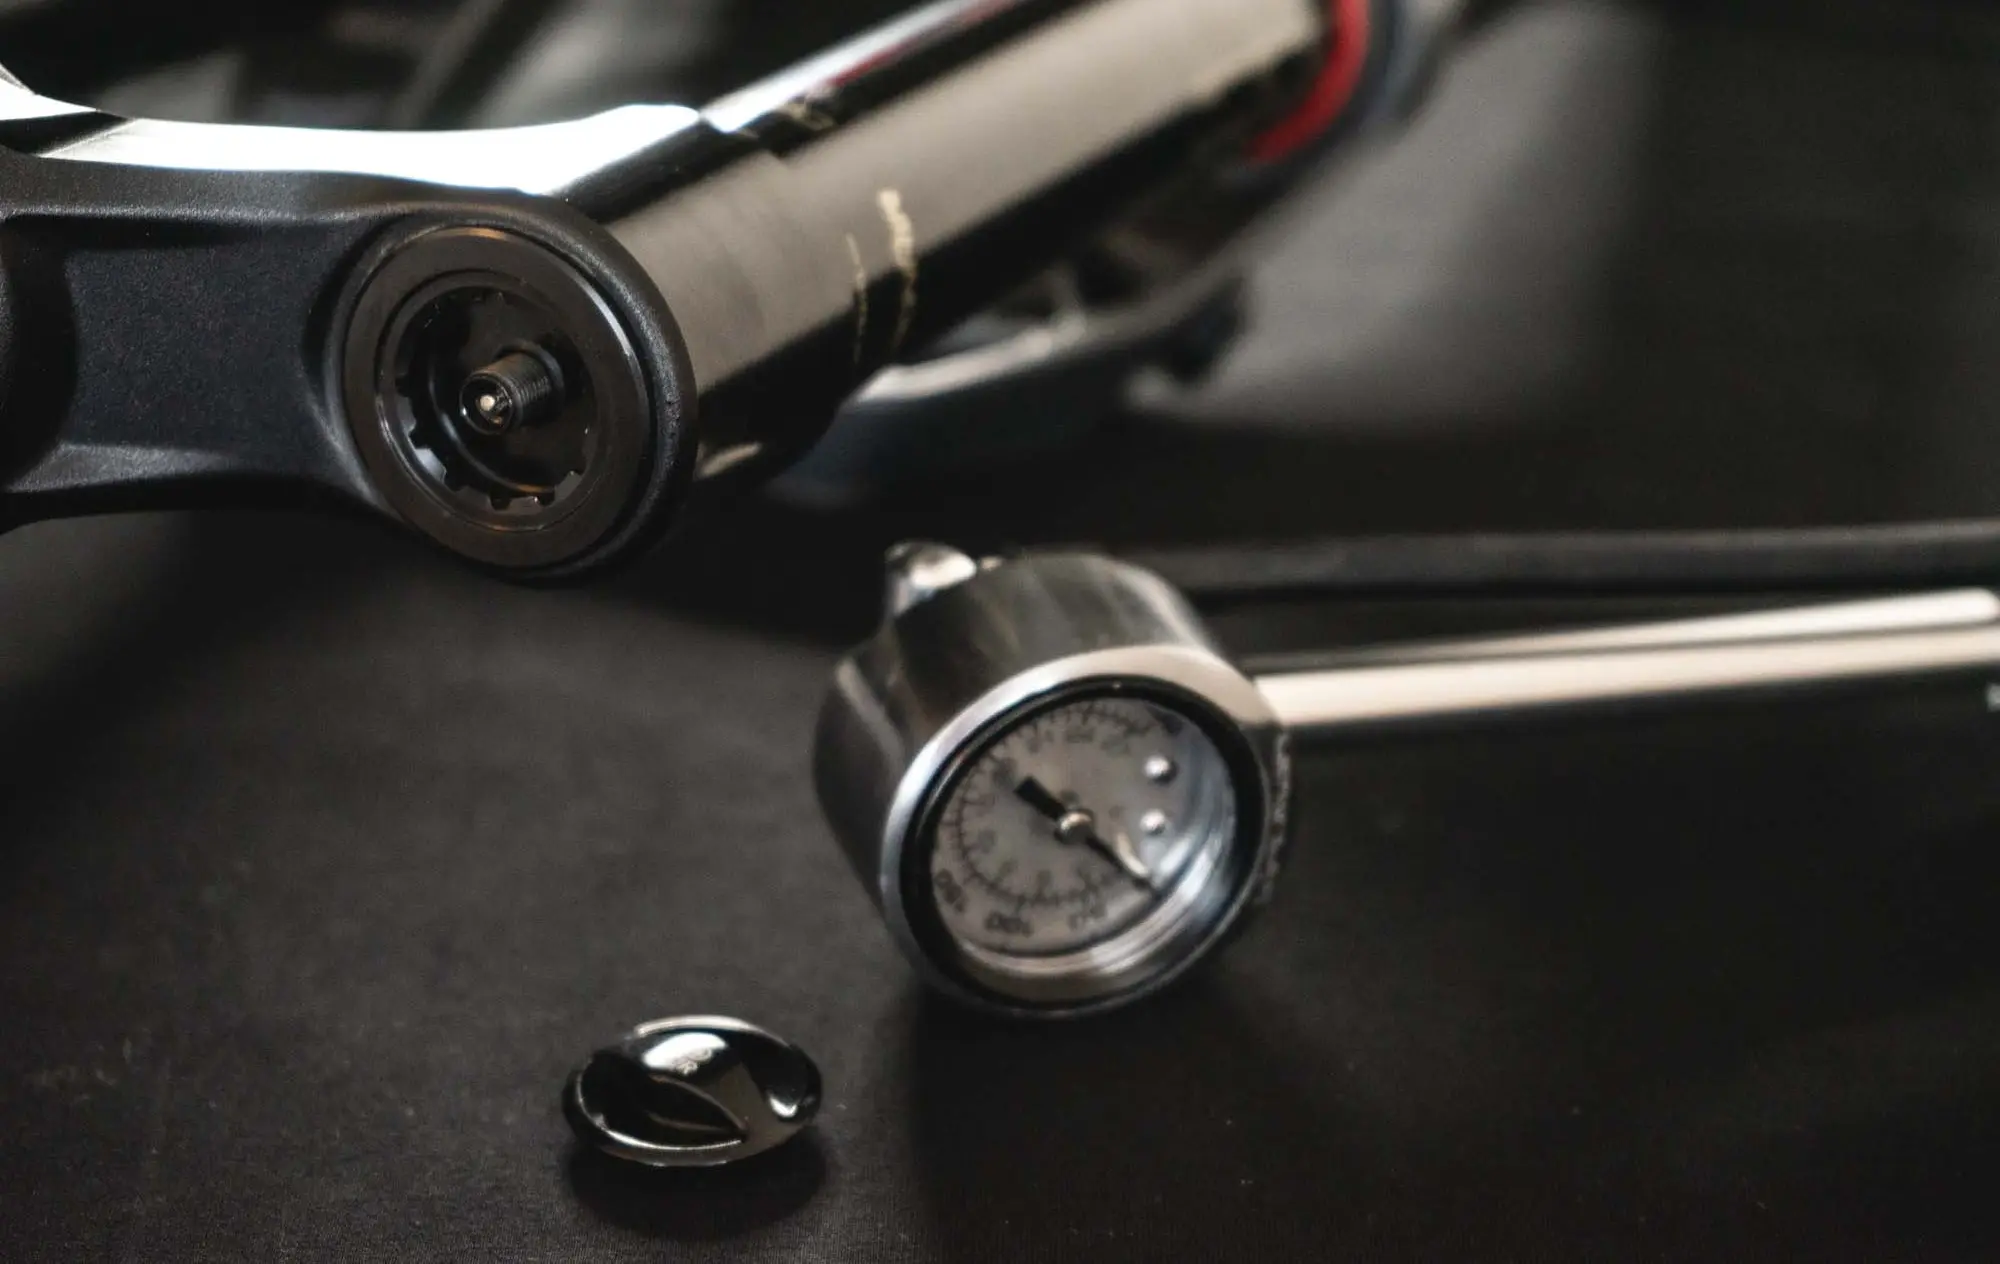
Mountain Bike PSI Chart: Fork & Rear-Shock Pressure Guide
Use a mountain bike PSI chart as a safe starting point for fork and rear-shock pressure, then confirm the result with SAG, your exact component and a repeatable trail test.
Quick answer
There is no single PSI number for every mountain bike. Fork pressure and rear-shock pressure depend on rider weight with equipment, travel, frame leverage, air-spring design, target SAG and riding style. Start with the manufacturer range, measure SAG and change pressure in small steps.
In this guide
What does a mountain bike PSI chart show?
A mountain bike PSI chart normally gives a starting pressure for an air fork or rear shock based on rider weight and component configuration. It does not replace the setup information for your exact bike. Two riders with the same weight can need different pressure because their frames use different leverage ratios, shock sizes, air cans and travel settings.
Keep three terms separate: fork PSI supports the front wheel, rear-shock PSI supports the rear wheel, and tire pressure controls the tire carcass and contact patch. They influence one another on the trail, but they should not be calculated as if they were the same setting.
How to use a mountain bike suspension PSI chart
Use this process whenever you set up an air fork or air shock after service, a bike change or a major change in riding equipment:
- Identify the component. Record the brand, exact model, generation, travel, air spring and damper. For RockShox, verify the serial number in TrailHead.
- Use the correct starting row. Include helmet, shoes, pack, water and normal riding equipment in your riding weight. Select the correct fork travel or shock configuration.
- Equalize the air chambers. Follow the manufacturer’s procedure, cycle the component slowly and recheck the pressure with the pump.
- Measure SAG. Use the O-ring in your normal riding position, not while standing on the pedals or leaning heavily on a wall.
- Test one variable. Ride a repeatable section and adjust approximately 5 PSI at a time, then measure SAG again.
- Set damping last. Once the spring pressure is stable, set rebound and compression separately and record the changes.
Setup rule
Use the chart to reach a first SAG measurement. Use SAG and repeatable trail feedback to decide whether the final setting needs more or less pressure.
Fork pressure vs rear-shock pressure
| Setting | What it controls | Best first check |
|---|---|---|
| Fork PSI | Front-wheel support, front-end height and usable fork travel | Model, travel, manufacturer chart and fork SAG |
| Rear-shock PSI | Rear-wheel support, chassis balance and rear-shock SAG | Frame recommendation, shock size, leverage and rear SAG |
| Tire PSI | Grip, casing support, rim protection and rolling feel | Tire size, casing, tubeless setup, terrain and rider weight |
When the bike feels unbalanced, do not automatically raise or lower both suspension pressures together. Check front and rear SAG independently, then test one change at a time.
Why rider weight is only a starting point
Rider weight is useful because it affects the force on the air spring, but it cannot describe the whole suspension system. A 90 kg rider on a progressive enduro frame may use a different rear-shock pressure from a 90 kg rider on a linear trail frame. The same applies to different fork travels and air-spring generations.
Target SAG also changes the result. A firm cross-country setup, a balanced trail setup and a sensitive enduro setup may all begin at different percentages. Follow your frame and component instructions whenever they are available, and never exceed a stated maximum pressure.
MTB tire pressure is a separate calculation
Searches for “mountain bike PSI chart” often combine suspension and tire-pressure questions. Tire PSI depends on tire width, casing, rim width, tubeless or tube setup, terrain and the risk of rim strikes. Use the MTB tire pressure calculator for a tire starting point, then tune it separately from fork and shock pressure.
Mountain bike PSI chart FAQ
What PSI should I use in my mountain bike fork?
Start with the pressure range for your exact fork model and travel, including normal riding equipment in your weight. Equalize the air chambers, measure SAG and adjust in small steps. The manufacturer’s specification takes priority over a general chart.
Is fork PSI the same as rear-shock PSI?
No. Fork and rear-shock pressure depend on different component dimensions and bike leverage. Use a fork-specific or shock-specific recommendation and measure SAG separately at each end of the bike.
Does tire pressure belong in a suspension PSI chart?
Tire pressure is related to overall bike feel but should be set separately. Tire width, casing, rim, tubeless setup, terrain and rim-protection needs all affect the correct tire PSI.
Can I copy another rider’s PSI?
Only as a rough reference. The other rider may use a different frame, travel, air spring, shock tune, tire casing or target SAG. Use the value to start testing, not as a guaranteed final setting.
Continue your MTB suspension setup
- RockShox fork pressure chart and setup guide
- MTB rear-shock pressure calculator
- Measure fork SAG with the MTB fork SAG calculator
- Learn how to set mountain bike rebound
- Follow the complete MTB suspension setup guide
Pressure values and procedures vary by component generation. Follow the official manual for your exact fork or shock, stay below its permitted maximum pressure and stop riding if you find leakage, abnormal play, damage or a failure to extend correctly.

Download SAGLY, a complete mobile guide for your mountain bike riding, suspension settings and maintenance.