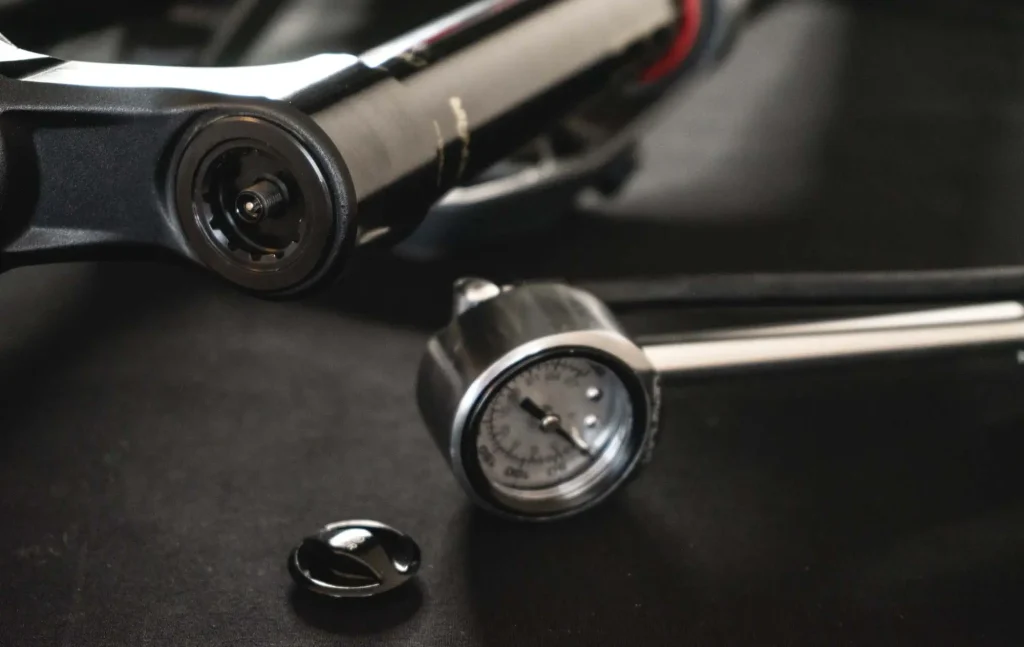
Mastering Shock Pump Use with an MTB PSI Calculator: Avoiding Common Mistakes
If you’re new to mountain biking or fine-tuning your bike’s suspension, you may have encountered frustratingly inconsistent pressure readings when using your shock pump. One of the most common mistakes is not pre-charging your pump. Let’s dive into why this happens, how you can prevent it, and how an MTB PSI calculator can help.
Understanding the Air Chamber Dynamics
Your bike’s shock has a small air chamber, significantly smaller than a car tire or even your bike tire. When you attach your shock pump, the line of the pump needs to be filled with air, effectively increasing the volume of the air chamber. This sudden increase in volume causes a drop in pressure. As a result, your pump might show a pressure reading that is 10 to 15 psi lower than the actual pressure in the shock. In cases of extremely high initial pressure, the reading could be even lower.
Repeatedly connecting and disconnecting the pump without pre-charging can even lead to draining the shock over time, causing consistent low readings and impacting your riding experience.
The Importance of Pre-Charging Your Pump so that the MTB PSI Calculator displayes right values
New riders often encounter this issue because they might not be familiar with the concept of pre-charging the pump. You might hear them say, “Every time I check my suspension, it’s lower.” This isn’t due to a leak or a fault in the shock itself but rather the method of checking the pressure.
How to Pre-Charge Your Pump
Here’s a step-by-step guide to pre-charge your shock pump and get accurate readings:
- Attach the Pump: Start by threading your shock pump onto the valve of the shock, but stop just before it opens the valve.
- Pressurize the Pump: Before the valve opens, pressurize the pump to match the estimated pressure in the main air chamber. This step aims to equalize the pressure in the pump line with the main chamber.
- Open the Valve: Once the pump is pressurized, finish threading the pump onto the valve, allowing the pressures to equalize without causing a significant drop or spike.
- Check the Reading: The reading on your pump should now be much closer to the actual pressure in your shock, typically within a psi or two. In method helps the MTB PSI Calculator of the pump to show correct values.
Using an MTB PSI Calculator
An MTB PSI calculator can be a handy tool for fine-tuning your suspension setup. These calculators help you determine the optimal pressure for your specific riding conditions and weight. By inputting details such as your weight, bike type, and riding style, the calculator provides a recommended PSI range for your shock. This can help you achieve a more accurate and personalized setup.
Fine-Tuning Your Setup
This technique is particularly valuable for riders who are fine-tuning their suspension setup for specific conditions. For example you have a race weekend or dialing in a new bike to match their riding preferences. Accurate pressure readings, aided by an MTB PSI calculator, are crucial for optimal suspension performance. So your rides will be smooth and controlled.
Conclusion
Pre-charging your shock pump is a simple yet effective technique to avoid common pressure reading errors. By following these steps and using an MTB PSI calculator, you can ensure that your suspension is set up accurately. This will enhance your riding experience and performance. Whether you’re a seasoned rider or new to the sport, mastering the use of your shock pump and leveraging an MTB PSI calculator are essential skills. This will also help you to maintain and optimize your bike’s suspension. Happy riding!
Download SAGLY, a complete mobile guide, which helps you set up your MTB settings and maintain your bike.

